
Appearance
How to set up the Slack integration with CaptiFi
Follow the steps below and your team gets a Slack message in the channel you choose each time a guest connects to your venue WiFi.
Time needed: about 5 minutes.
What this integration does
Each time a guest signs in to your WiFi, CaptiFi posts a message to your Slack channel naming the guest, the venue and the email address they gave, for example "Ada Lovelace just connected to WiFi at The Anchor (ada@example.com)". It posts for every connection, whether or not the guest accepted marketing, so treat the channel as a staff-only space. Ticket buyers added from your events page are not posted.
On the Pro plan, the Notify the venue team step in Workflows can also post its message to the same channel.
Before you start
- A Slack workspace where you can add apps, or a workspace admin who can do it for you
- A CaptiFi plan that includes integrations (Growth or above)
- Your venue live in CaptiFi
Part 1: Create a Slack Incoming Webhook
Step 1: Create a Slack app
Go to api.slack.com/apps, click Create New App, choose From scratch, name it (for example "CaptiFi WiFi") and pick your workspace.
Step 2: Switch on Incoming Webhooks
In the app's settings, open Incoming Webhooks and turn Activate Incoming Webhooks on.
Step 3: Add a webhook for your channel
Click Add New Webhook to Workspace, pick the channel where guest alerts should land and click Allow. Copy the Webhook URL. It starts with https://hooks.slack.com/services/.
Part 2: Connect Slack in CaptiFi
Step 4: Open the Integrations page
Log in to my.captifi.io and click Integrations in the left sidebar.
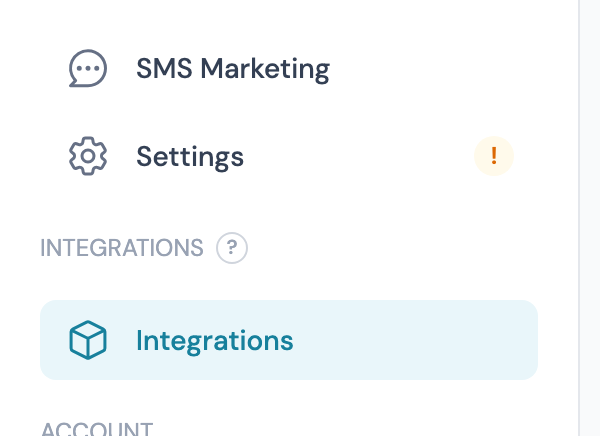
Step 5: Find the Slack card and click Configure
Click Configure on the Slack card and pick the venue you want to connect.
Step 6: Paste the webhook URL and click Save
Paste the URL into Incoming Webhook URL and click Save. CaptiFi only shows a masked confirmation once it is saved.
Step 7: Click Send test message
CaptiFi posts "CaptiFi is connected to" followed by your venue name in the channel. If it appears, the webhook works.
Step 8: Switch the venue on
The venue reads Connected but paused until you flip the toggle to Enabled. Guest messages start with the next connection.
Part 3: Test it end to end
Forget the WiFi on a phone, reconnect and complete the splash page. A message naming the guest and your venue appears in the channel within a minute or so.
Important notes
- Messages go to the one channel the webhook was created for. To post to a different channel, add a new webhook in Slack and save its URL in CaptiFi.
- Each venue holds its own webhook, so venues can post to separate channels or share one.
- The message includes the guest's email address. Keep the channel to staff who would see the guest list anyway.
- The webhook URL is all Slack needs to post to your channel. If it is shared by mistake, remove the webhook in Slack and save a new one.
Troubleshooting
"Webhook URL must be an HTTPS hooks.slack.com URL": the saved address is not a Slack Incoming Webhook. Copy the URL from Step 3 again.
Send test message fails with HTTP 403 or 404: the webhook was removed in Slack, or the app was uninstalled. Add a new webhook (Step 3) and save its URL.
No messages for guests: check the venue toggle is Enabled (Step 8) and that the test message arrived.