
Appearance
How to set up the Pepper integration with CaptiFi
Follow every step below and opted-in WiFi guests will be created in your Pepper customer base automatically, alongside the customers who order through your app.
Time needed: about 5 minutes in CaptiFi, plus however long Pepper takes to issue your credentials.
What this integration does
Pepper powers branded ordering for hospitality: order to table, click and collect, pay at table and loyalty. Guests who only join your WiFi normally leave nothing behind. With this integration, when a guest connects and ticks the marketing opt-in, CaptiFi creates them as a Pepper customer with their name, email address and marketing consent recorded, ready for your Pepper campaigns, offers and loyalty.
Before you start
- A Pepper account (pepperhq.com)
- Two credentials issued by Pepper: an Application ID and an API Token
- A CaptiFi plan that includes integrations (Growth or above)
Part 1: Get your Pepper credentials
Pepper does not expose API credentials in a self-service screen, so there is nothing to screenshot here: the credentials are issued to you by the Pepper team.
Step 1: Ask Pepper for API access
Email your Pepper account manager, or support@pepperhq.com, and ask for API access for a CRM integration that will create customers.
Step 2: Collect the two values
Pepper issues, per merchant account:
| Credential | What it looks like |
|---|---|
| Application ID | A short merchant identifier for your brand |
| API Token | A long secret string; treat it like a password |
We can do this part for you
Not sure who to ask? Contact CaptiFi support and we will liaise with Pepper and complete the connection on your behalf.
Part 2: Connect Pepper in CaptiFi
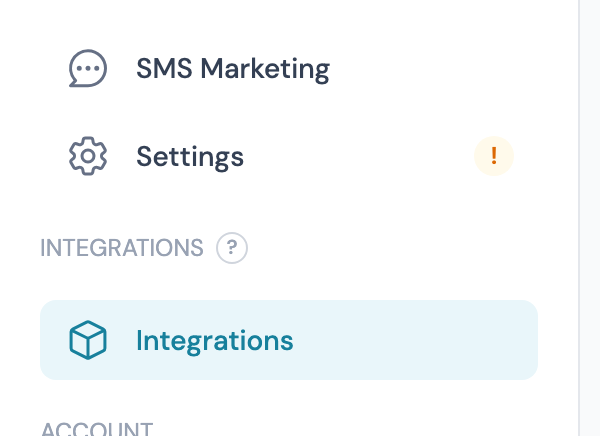
Step 3: Open the Integrations page
Log in to my.captifi.io and click Integrations in the left sidebar.
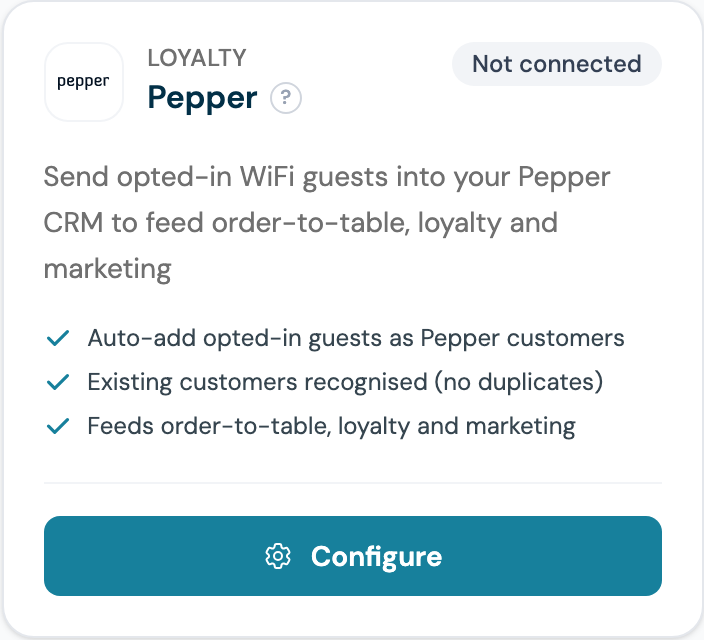
Step 4: Find the Pepper card and click Configure
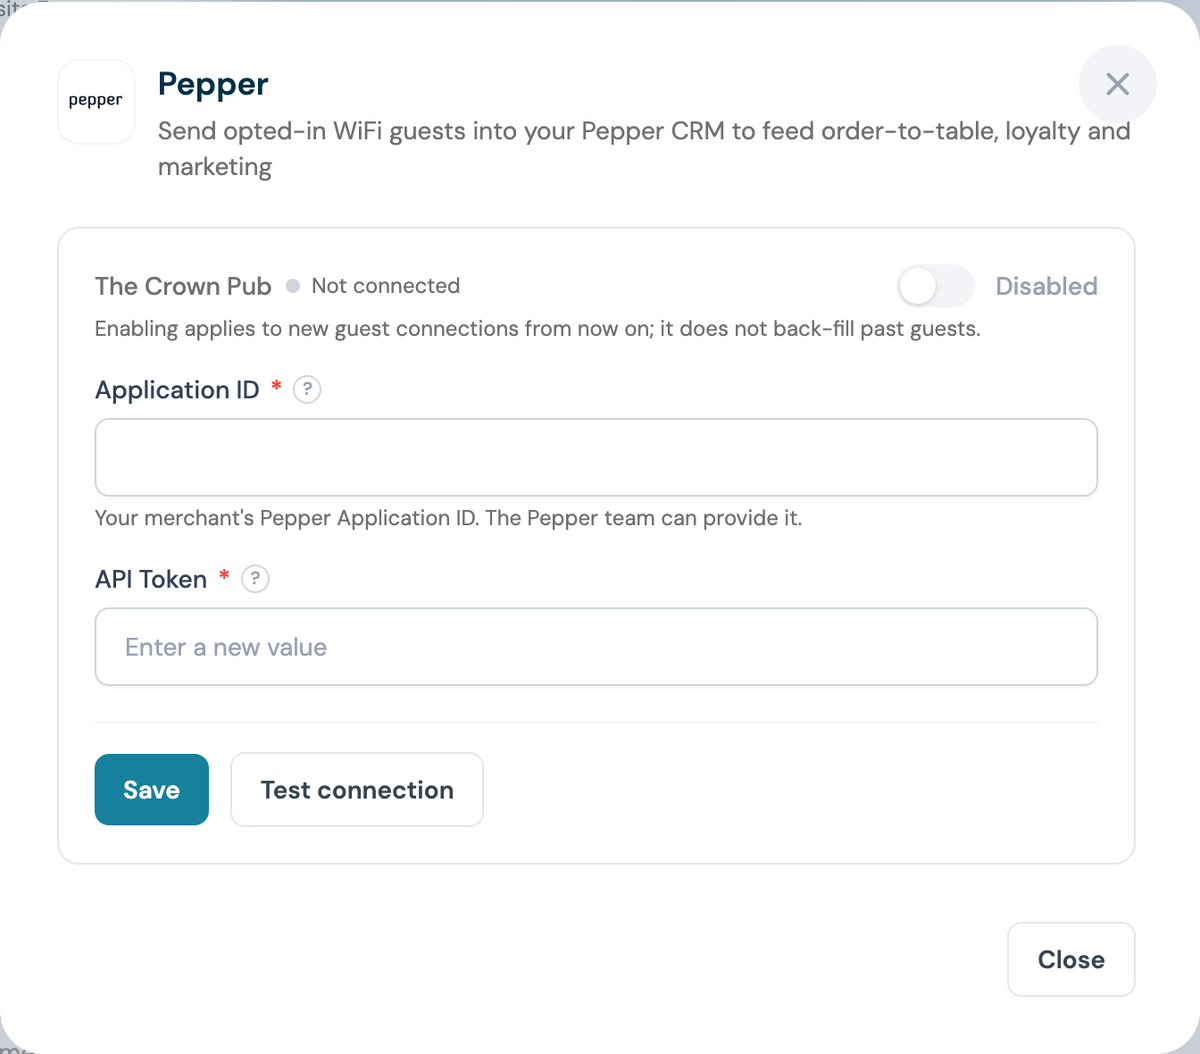
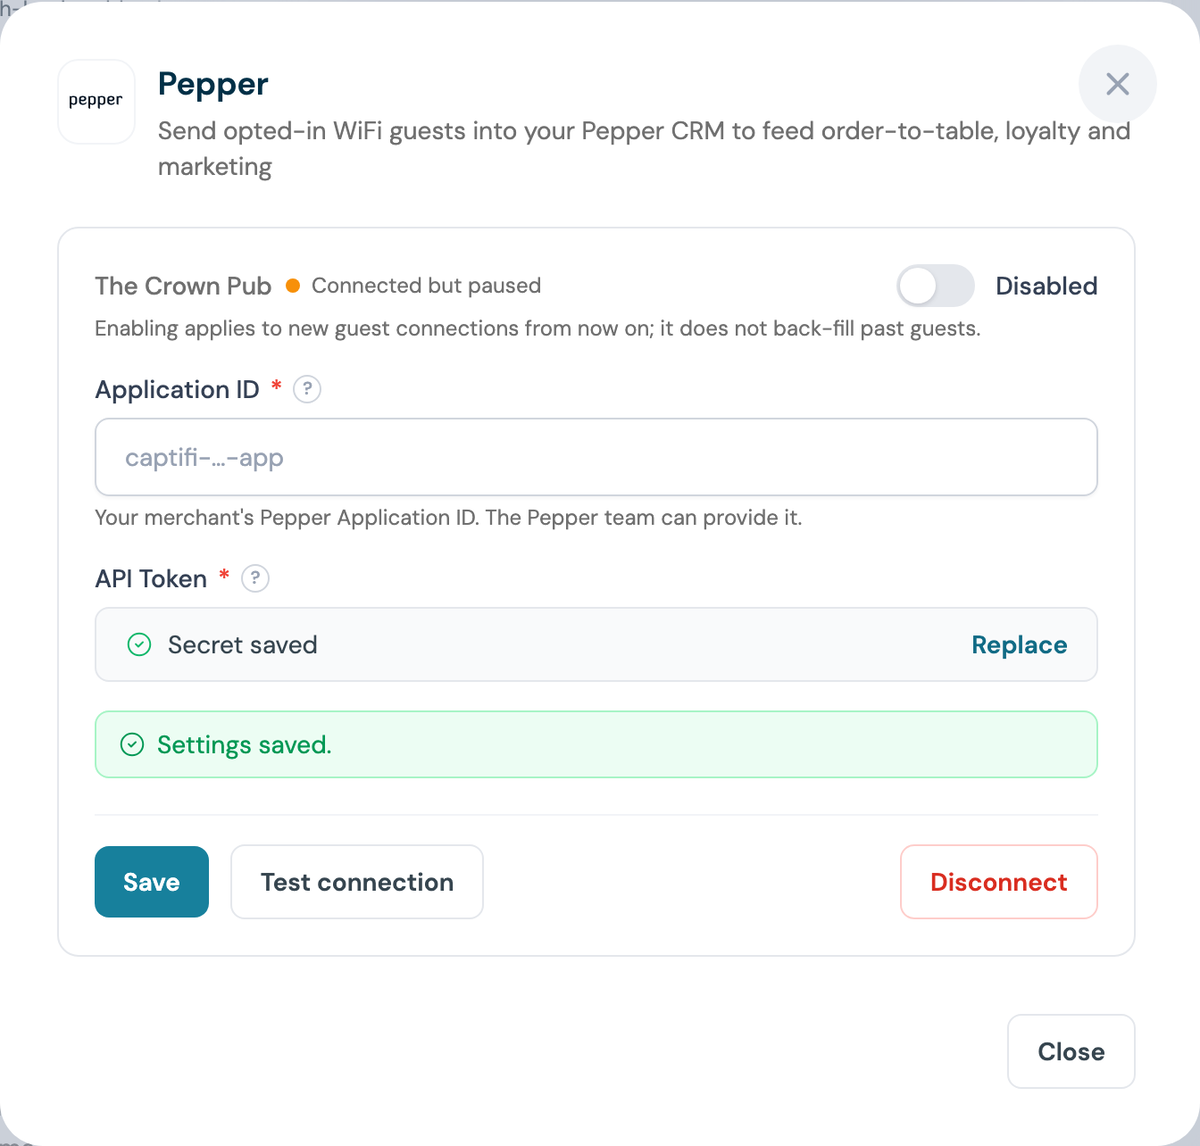
Step 5: Paste the Application ID and API Token
The panel shows one section per venue you manage. Both fields are required. The API Token is write-only: once saved, CaptiFi only ever shows a masked confirmation.
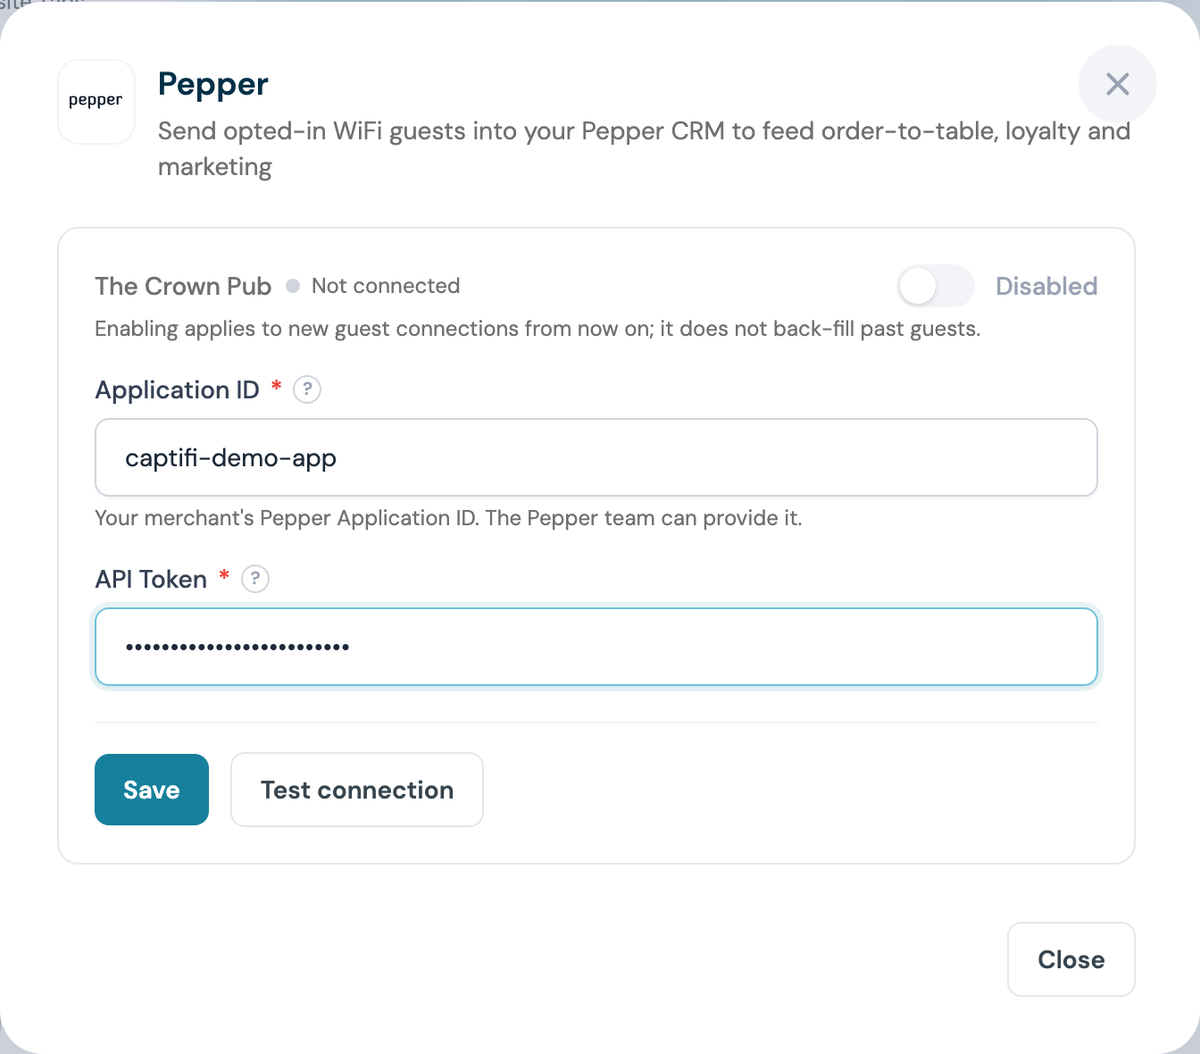
Step 6: Click Save, then Test connection
The test calls Pepper with your credentials, so a value that has not been activated yet is caught immediately rather than silently failing later.
Step 7: Switch the venue on
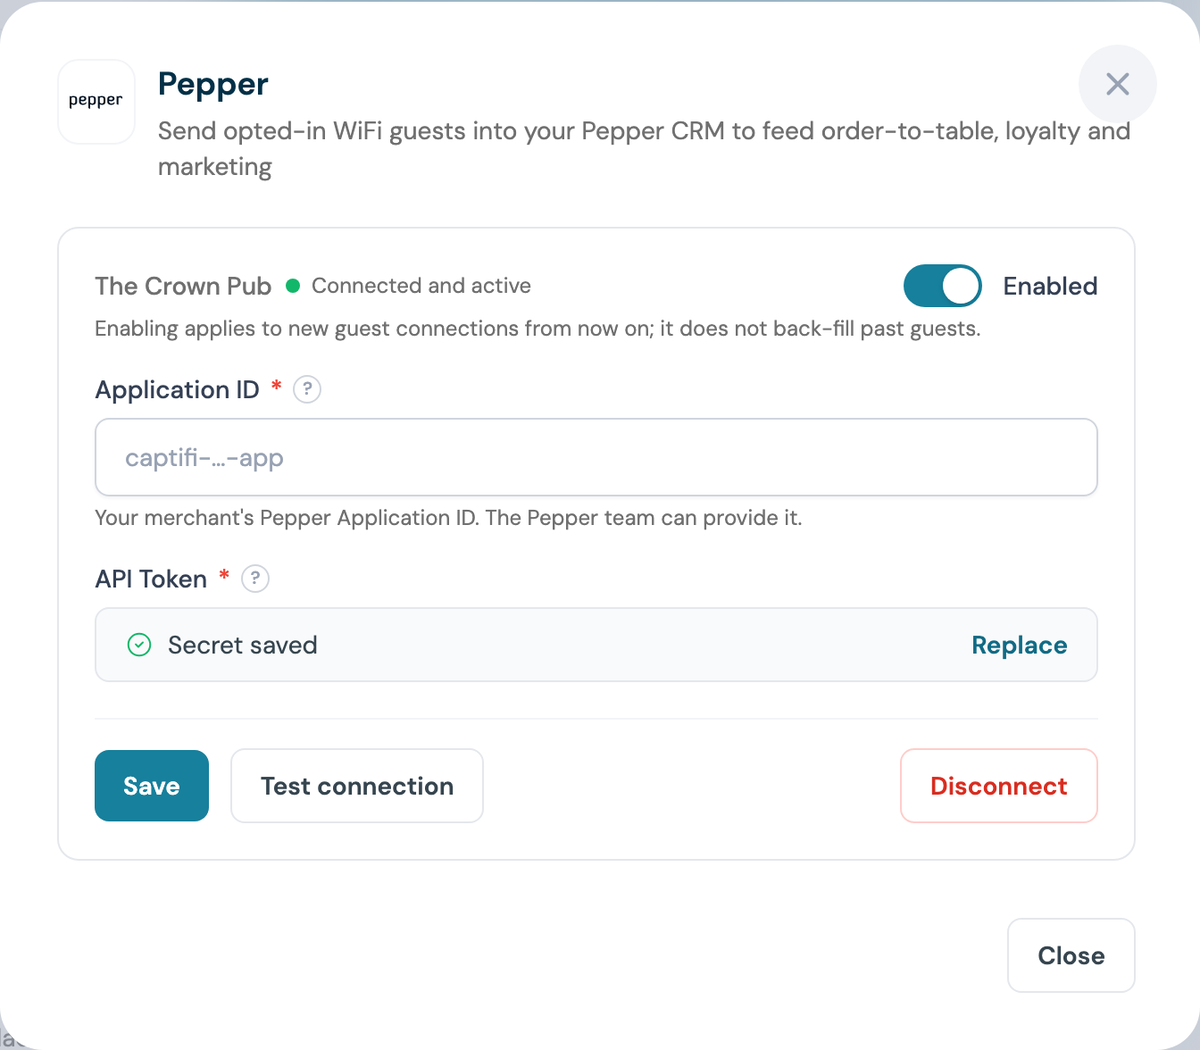
The venue reads Connected but paused until you flip the toggle to Enabled.
Enabling is not retrospective
Only guests who connect after you enable the integration are sent to Pepper.
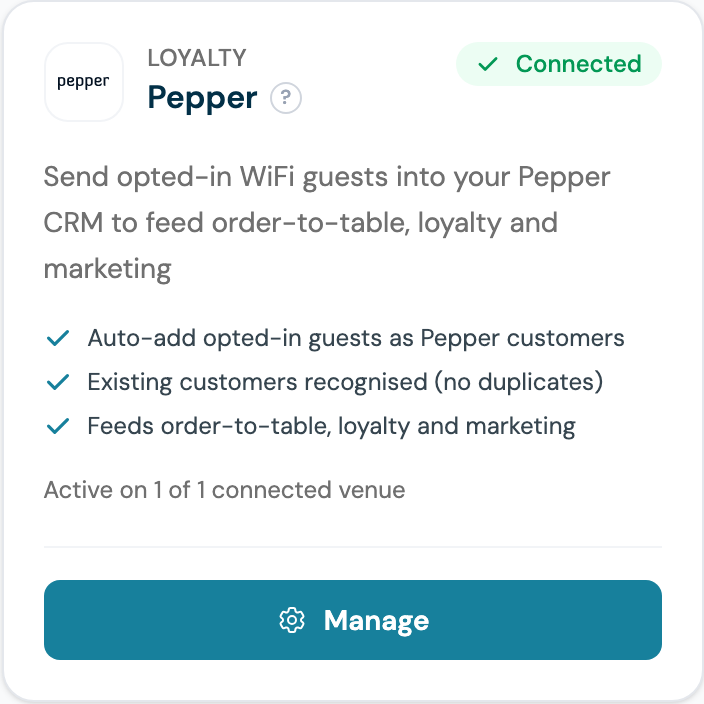
Step 8: Confirm the card says Connected
Part 3: Test it end to end
Step 9: Sign in as a guest
Forget the WiFi on a phone, reconnect, and complete the splash page with a real email address. Tick the marketing opt-in box.
Step 10: Check the customer in Pepper
Search your Pepper customer base for that email. Within a few minutes the customer appears with marketing consent recorded.
What gets synced
| Data | Notes |
|---|---|
| Name and email address | Only guests who tick the marketing opt-in |
| Marketing opt-in | Guests are sent with their consent recorded |
Important notes
- Only opted-in guests are synced (this respects GDPR consent)
- Sync happens within minutes of the WiFi sign-in
- Each venue uses its own Pepper credentials, so a group can run several Pepper merchants
Troubleshooting
"Pepper rejected the credentials" on Test - the API Token or Application ID is wrong, or not yet activated by Pepper. Re-check both values with your account manager.
Guests not appearing - check the venue toggle is Enabled (Step 7), and remember only guests who tick the marketing opt-in are sent.
Not sure about credentials - CaptiFi support can liaise with Pepper and finish the connection for you.