
Appearance
How to set up Paid WiFi with Stripe in CaptiFi
Follow every step below and guests will buy timed WiFi access on your splash page, with the money going straight into your own Stripe account.
Time needed: about 15 minutes.
What this does
With Paid WiFi on, guests see a paid splash page instead of your free sign-in form. They pick a pass, accept your WiFi terms, and pay by card, Apple Pay or Google Pay. The moment the payment succeeds they are online, and they are disconnected automatically when their time runs out.
You do not need to collect names or emails on the splash page: CaptiFi records the guest's name and email from their Stripe payment, so your guest database keeps growing.
Works with CaptiFi Plug and Play devices, UniFi, TP-Link Omada, Aruba, Cisco, Meraki and Ruckus.
One splash page at a time
Paid WiFi replaces your free splash page at that venue. The two cannot run together. Switch it off at any point and the free splash page comes straight back.
Before you start
- A Stripe account that can accept payments in your country
- A CaptiFi plan that includes integrations (Growth or above)
- Your venue live in CaptiFi
Part 1: Get your Stripe API keys
Step 1: Open your Stripe API keys page
Log in to dashboard.stripe.com and go to Developers, then API keys.
Step 2: Copy the publishable key
Copy the key that starts with pk_. This one is safe to appear in a browser.
Step 3: Reveal and copy the secret key
Click Reveal on the secret key and copy it. It starts with sk_, or rk_ if you use a restricted key. Treat it like a password.
Try it with test keys first
Test keys (pk_test_ and sk_test_) work exactly the same way, so you can rehearse the whole flow before taking real money.
Part 2: Connect Stripe in CaptiFi
Step 4: Open the Paid WiFi page
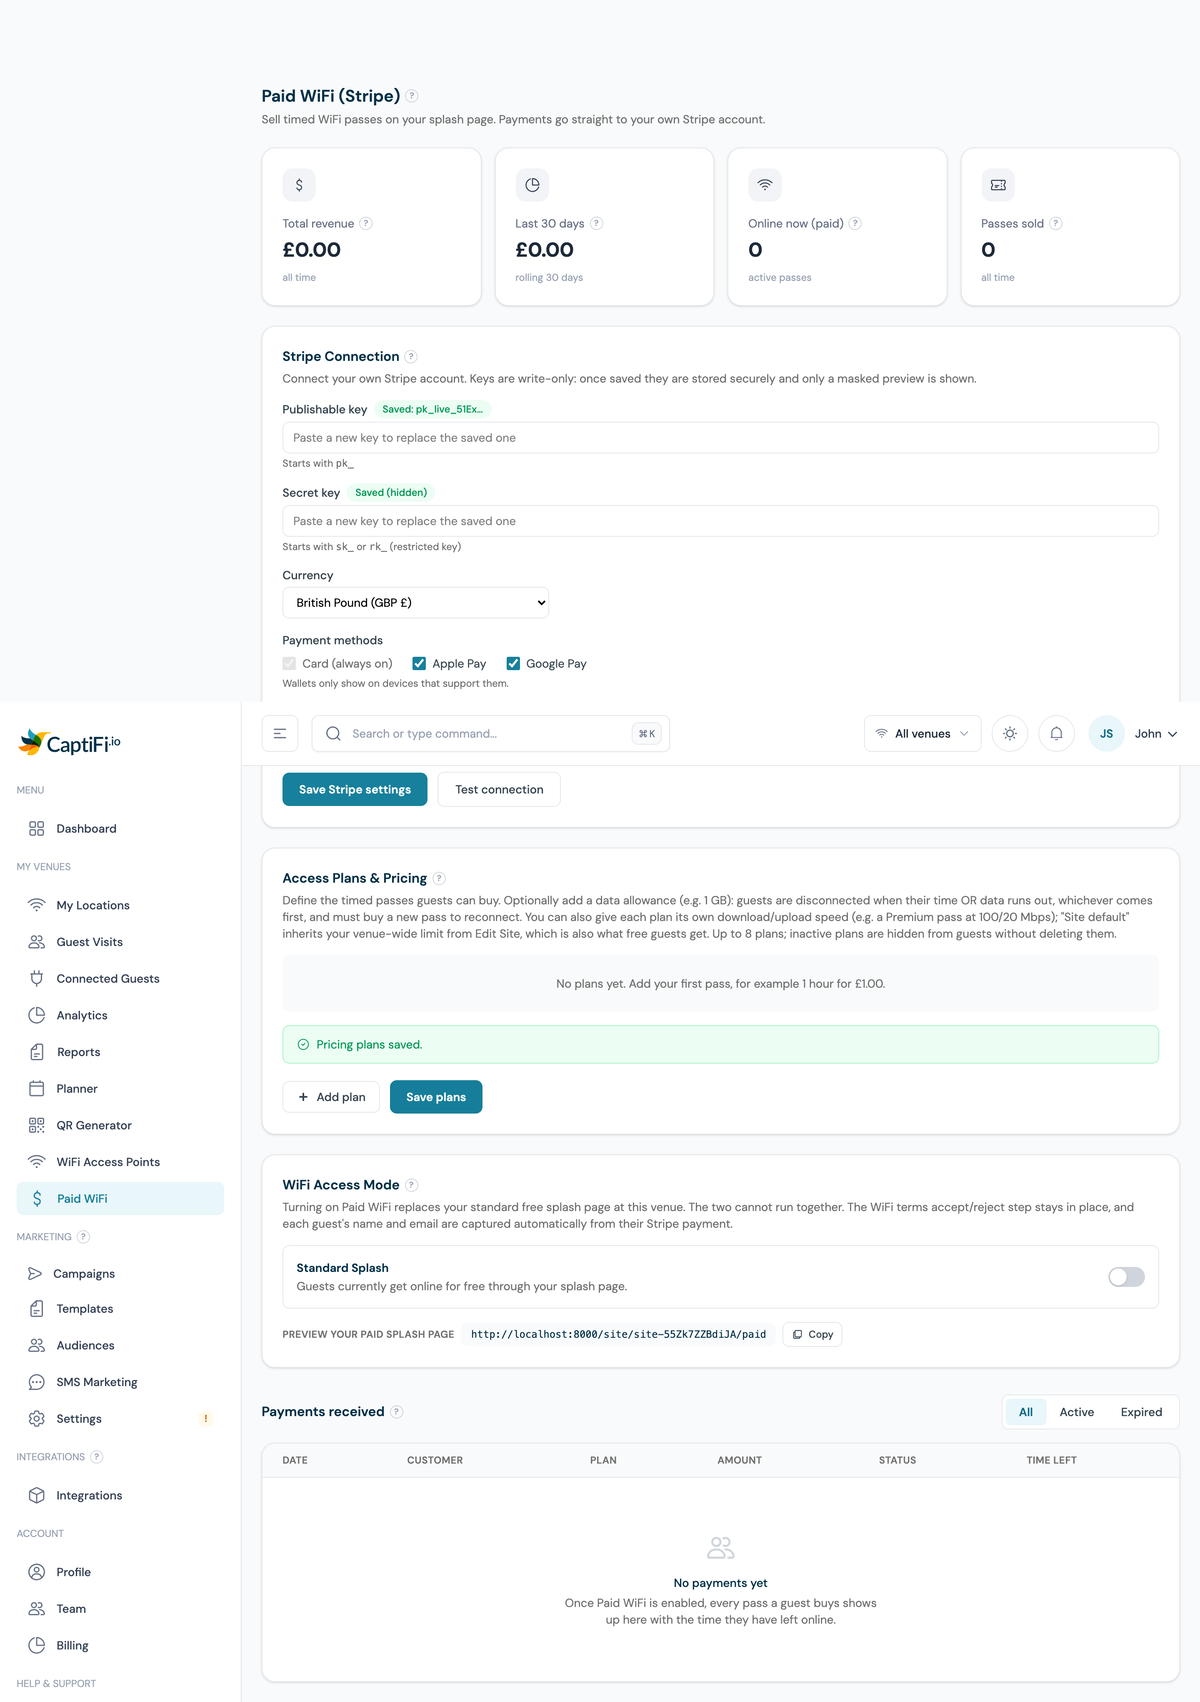
Log in to my.captifi.io and click Paid WiFi in the sidebar. If you do not see it, open Integrations, find the Paid WiFi (Stripe) card and switch on Show in sidebar.
Step 5: Paste your Stripe keys
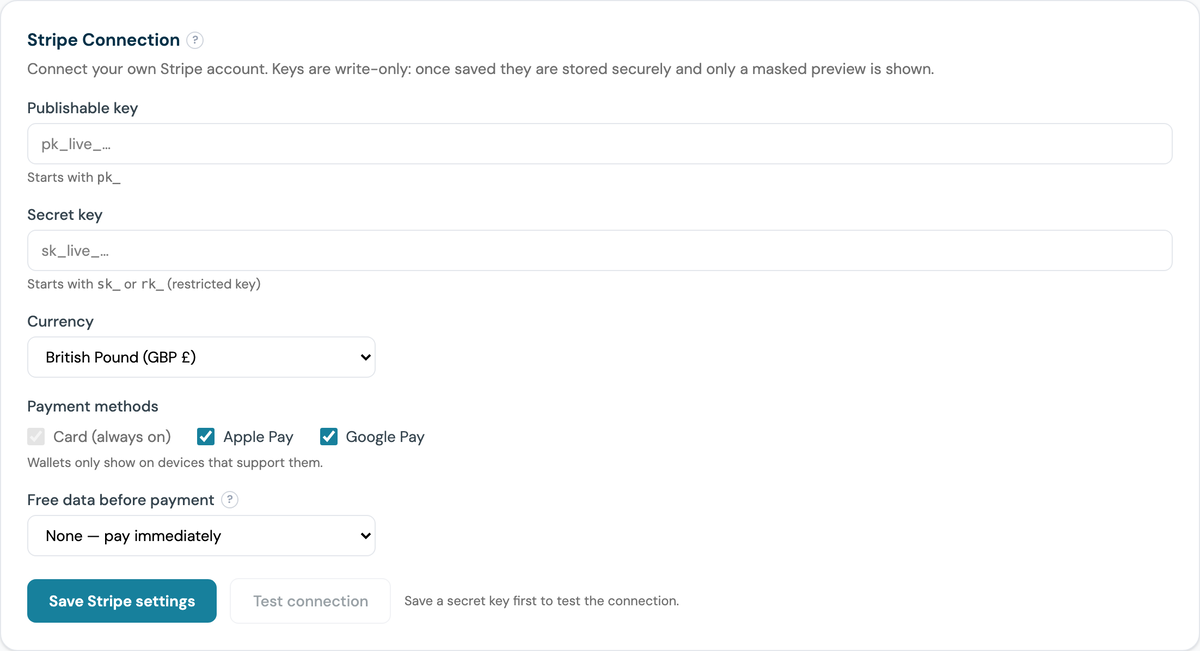
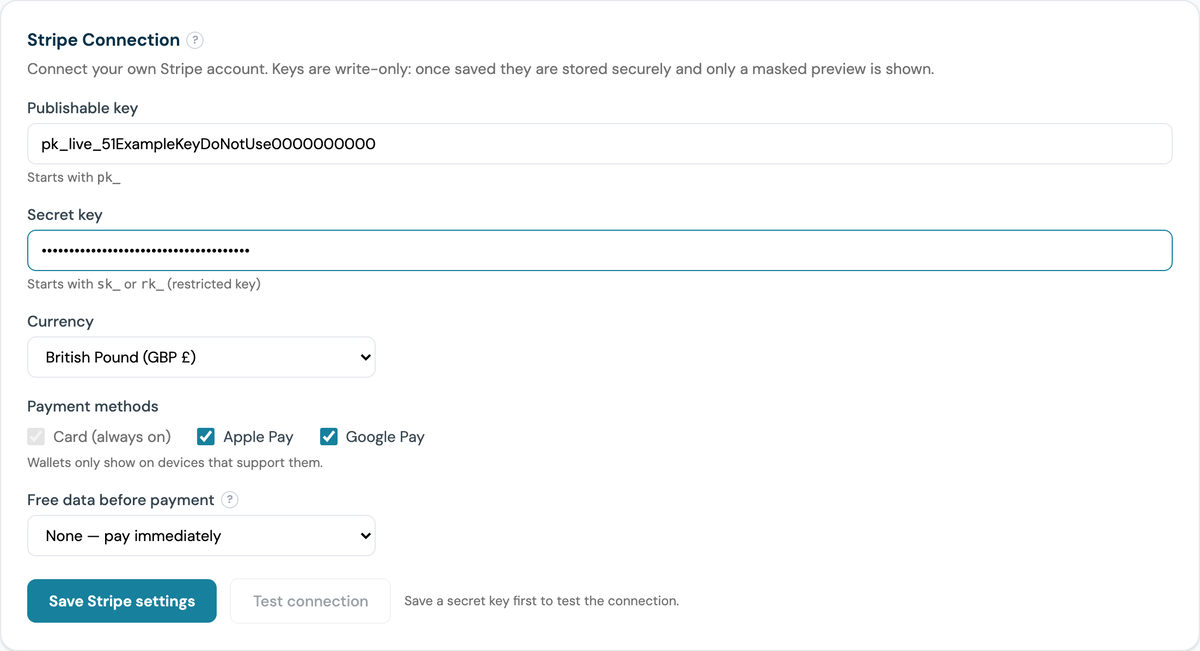
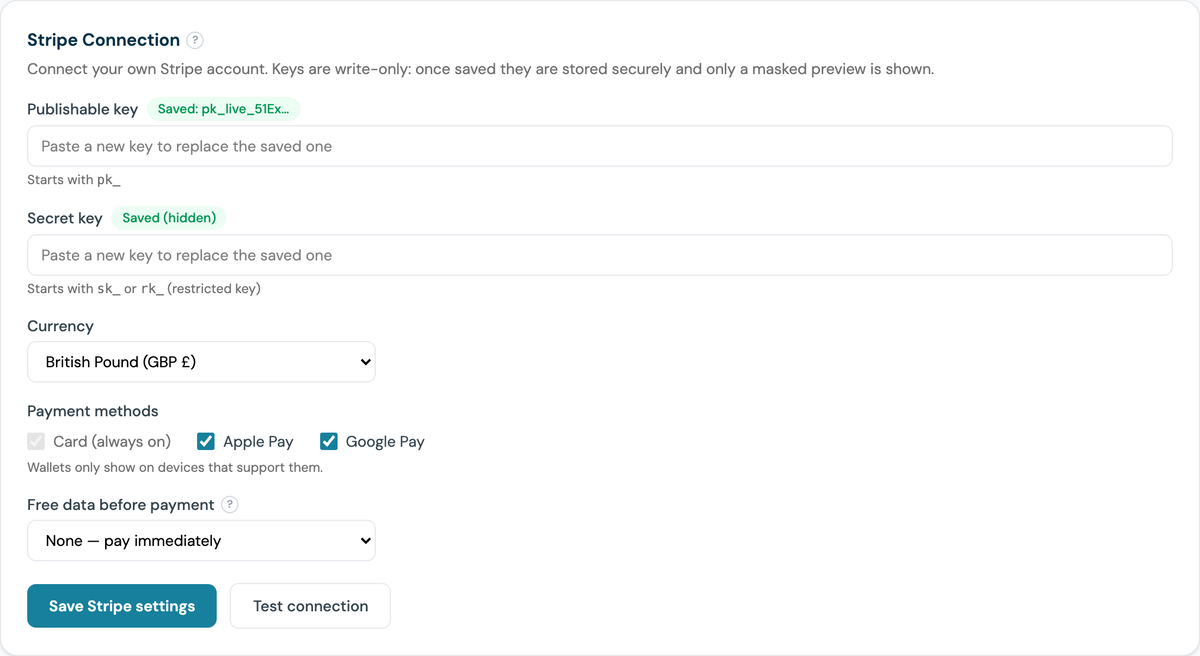
In Stripe Connection, paste the publishable key from Step 2 and the secret key from Step 3. Both are write-only: once saved, CaptiFi shows only a masked preview.
Step 6: Choose your currency and payment methods
Pick the Currency guests are charged in. CaptiFi supports GBP, USD, EUR, CAD, AUD and NZD, so charge in your local currency.
Card is always on. Leave Apple Pay and Google Pay ticked: the buttons only appear on devices that support them, and they convert far better than typing card details on a phone.
Step 7: Optional, give guests free data before paying
Free data before payment lets every guest online for a small data allowance before the paywall appears, which is useful if you want people to sample the WiFi first. Leave it on None, pay immediately to charge from the start.
Step 8: Click Save Stripe settings, then Test connection
A successful test confirms the secret key works. Test connection stays greyed out until a secret key has been saved.
Part 3: Create your access plans
Step 9: Add a plan
In Access Plans & Pricing click + Add plan. You get up to 8 plans; guests see every plan marked Active.
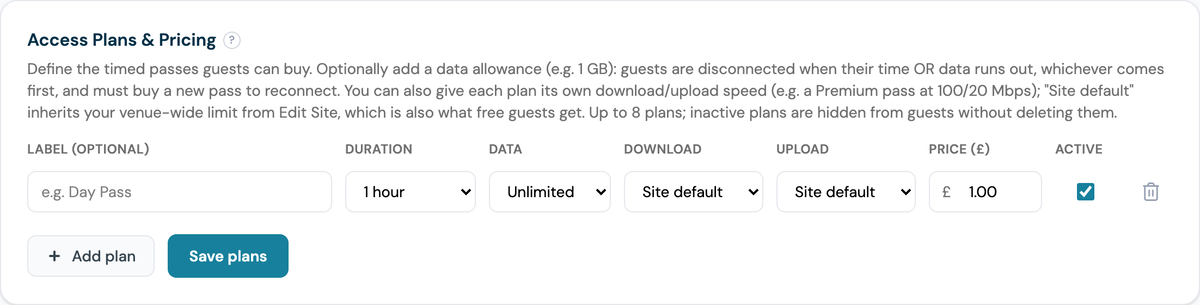
Step 10: Fill in the plan
| Column | What to set |
|---|---|
| Label (optional) | What the guest sees, for example 1 hour pass or All day |
| Duration | 30 minutes up to 7 days |
| Data | Leave Unlimited, or cap the pass (for example 1 GB) |
| Download / Upload | Site default, or give a premium pass faster speeds |
| Price | The amount in your chosen currency |
| Active | Tick to show the plan to guests |
Guests are disconnected when their time or their data runs out, whichever comes first.
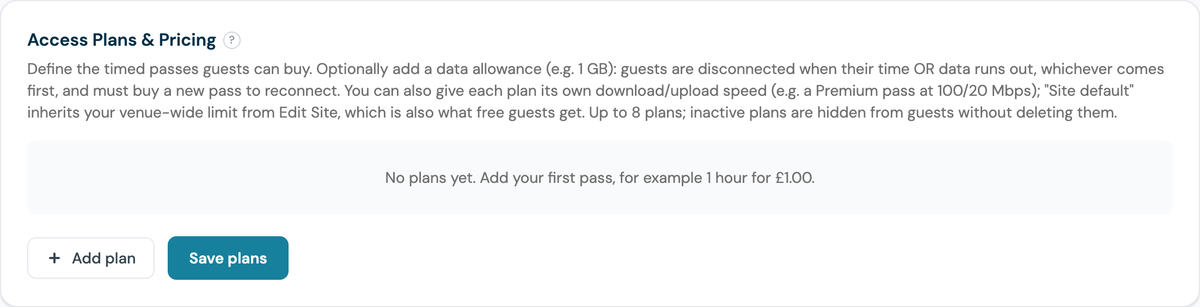
Step 11: Click Save plans
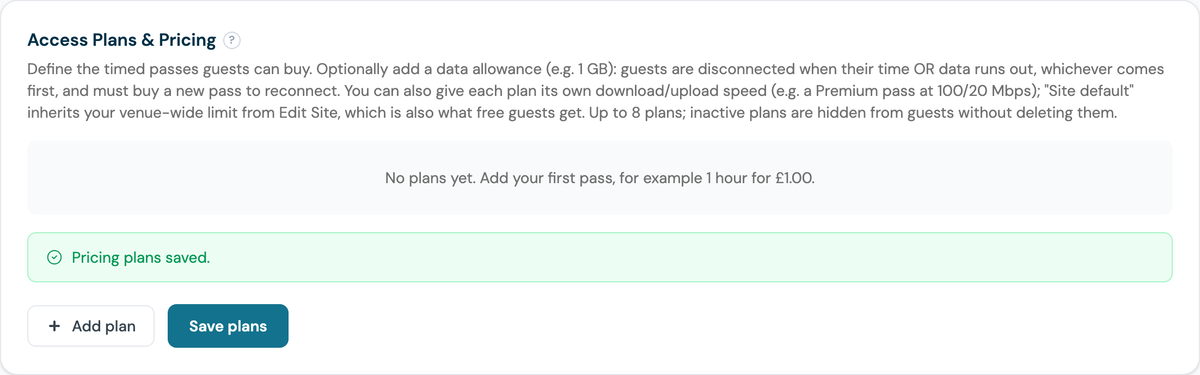
A sensible starting line-up is a cheap short pass and a better-value long one, for example 1 hour at 1.00 and 24 hours at 9.99 in your currency.
Part 4: Turn Paid WiFi on
Step 12: Switch the venue from Standard Splash to Paid WiFi
In WiFi Access Mode, flip the toggle. While it reads Standard Splash, guests get online free. Once switched, the paid splash page is live immediately.
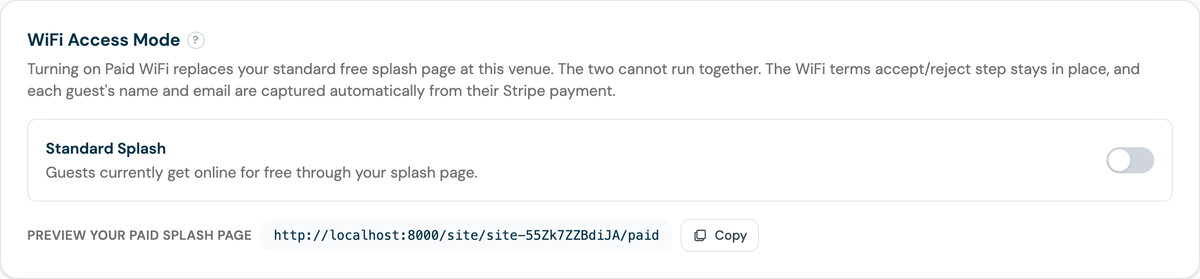
Step 13: Preview your paid splash page
Use the Preview your paid splash page link at the bottom of the panel to see exactly what guests see.
Step 14: Allowlist Stripe on your controller if needed
Guests must reach Stripe before they are online. CaptiFi does this for you on UniFi controllers and on CaptiFi devices over their management tunnel. On Omada, Meraki, Aruba, Cisco or Ruckus, add these to your pre-authentication allowlist or walled garden:
js.stripe.com
api.stripe.com
m.stripe.network
q.stripe.com
pay.google.com
apple-pay-gateway.apple.com
Part 5: Test it end to end
Step 15: Buy a pass yourself
Forget the WiFi on a phone, reconnect, and complete the purchase. Accept the terms, pay, and confirm you get online straight away.
Step 16: Check the payment landed
The Payments received table on the Paid WiFi page shows the guest, plan, amount, status and time remaining. Stripe emails the guest a receipt automatically.
Tracking payments
The Paid WiFi page shows, per venue:
- Total revenue, last 30 days, passes sold, and how many paid guests are online now
- A Payments received table with each guest's name, email, plan, amount, status and time left
Paid guests also appear in your normal Guest Visits list, so email campaigns and integrations keep working.
Troubleshooting
Test connection is greyed out - save a secret key first, then test.
Guests see the payment form but it fails to load - Stripe is being blocked before the guest is online. Add the domains in Step 14 to your controller's walled garden.
No Apple Pay or Google Pay buttons - the wallets only render on supported devices: Apple Pay in Safari on iPhone, iPad and Mac with a card in Wallet; Google Pay in Chrome or on Android with a saved card. Both must also be enabled in Stripe under Settings, Payment methods. CaptiFi registers the Apple Pay domain with your Stripe account when you save your keys.
Payments succeed but guests are not online - check the venue's WiFi hardware is online in WiFi Access Points, then contact support with the payment time.
I want free WiFi back - flip WiFi Access Mode back to Standard Splash. Nothing else needs changing.
FAQ
Do guests still accept my WiFi terms? Yes. The accept and reject terms step appears before payment, exactly as on the free splash page.
Where does the money go? Straight into your own Stripe account. CaptiFi never touches the funds and takes no commission. Stripe's normal processing fees apply.
Do guests get a receipt? Yes, Stripe emails one to the address used at payment.
What happens when the time runs out? The guest is disconnected. To get back online they buy another pass.
Can I refund a guest? Yes, refund in your Stripe dashboard as usual. A refund does not end an active session automatically.