
Appearance
Team Members
Give colleagues their own login to your CaptiFi dashboard, and control exactly what each of them can access — without sharing your password.
Where to Find It
- Log in to my.captifi.io
- Go to Account → Team in the sidebar
The page shows your seat usage (up to 10 seats per account — team members plus pending invitations; you're not counted), your Team members table, and any Pending invitations.
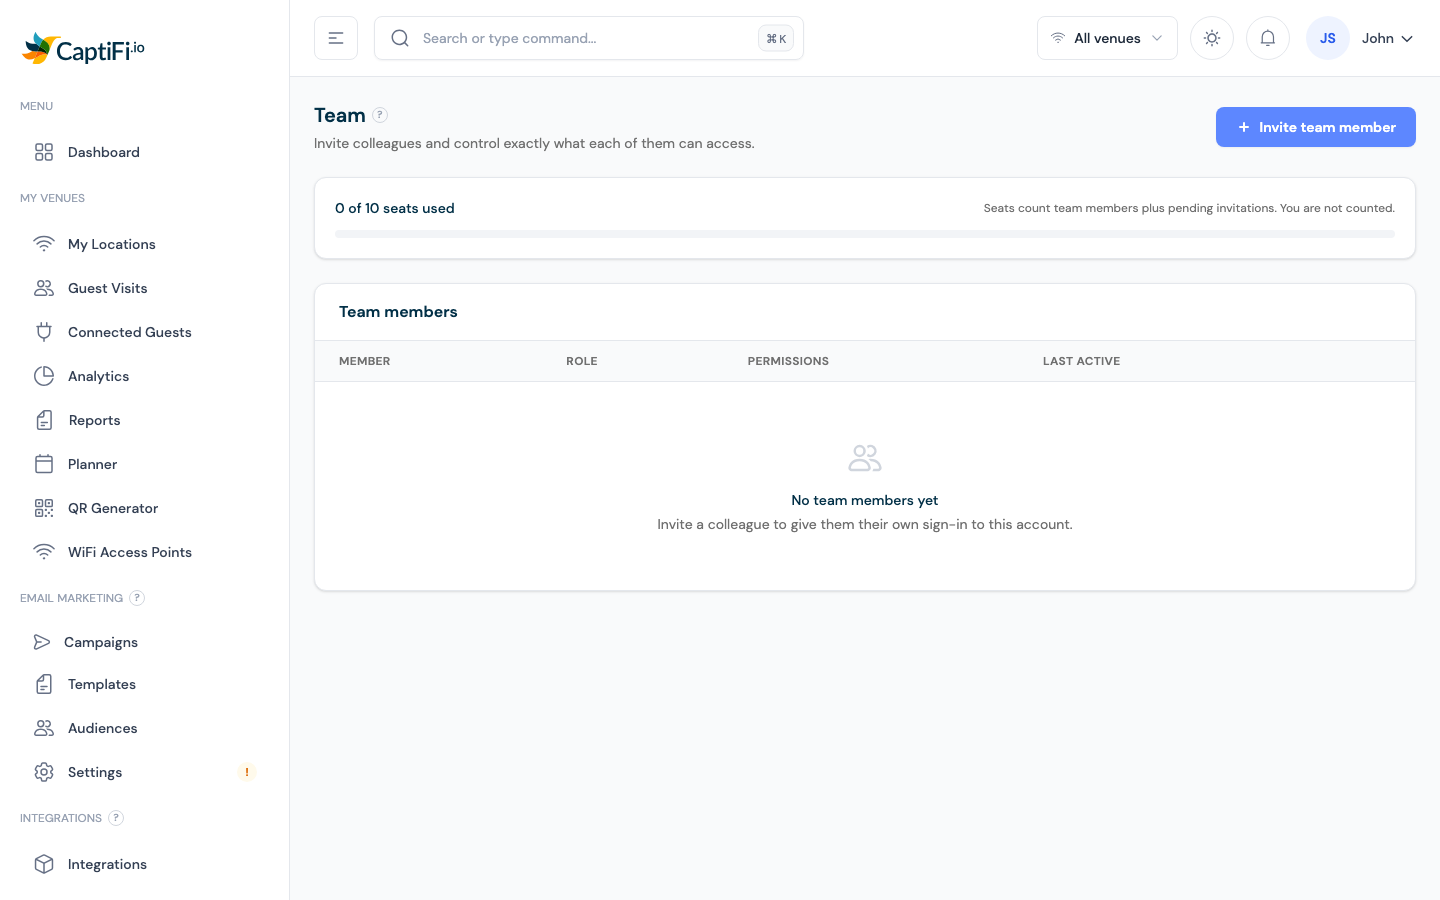
Inviting a Team Member
- Click Invite team member (top right)
- Enter their Email address and optionally their Name
- Pick a Role — this pre-fills a sensible set of permissions
- Fine-tune the individual permission toggles if needed (each has a short description, e.g. team management, billing access)
- Click Send invitation
The invitee receives an email link where they set a password to create their account. Invitations expire after 7 days — use Resend to email a fresh link, or Revoke to cancel one.
Seats full?
If the invite button is disabled with a "team is full" warning, remove a member or revoke a pending invitation first. Team members are included in your plan at no extra cost.
Editing or Removing Members
In the Team members table:
- Edit (pencil) — change their role or individual permissions; their email can't be changed
- Remove (bin) — revokes their access immediately after you confirm
The table also shows each member's permission summary (e.g. "Full access", "View only") and when they were last active.
What Team Members See
Team members log in at my.captifi.io like you do, but only see the pages their permissions allow. For example:
- Without billing access, the Billing page shows "Billing is managed by your account owner"
- Without team management, the Team page is restricted
- Members can never grant themselves more access than they have
Related Pages
- Account Settings — your own profile and security
- Dashboard Overview — what each dashboard section does