
Appearance
How to set up the Mailchimp integration with CaptiFi
Follow every step below and opted-in WiFi guests will land in your Mailchimp audience automatically, ready for newsletters, automations and promotions.
Time needed: about 10 minutes.
What this integration does
When a guest connects to your WiFi and ticks the marketing opt-in, CaptiFi adds them to your Mailchimp audience as a subscribed contact with their name, the WiFi connection time, and any custom questions your splash page asks. Contacts are matched by email address, so a returning guest updates their existing contact rather than creating a duplicate.
Before you start
- A Mailchimp account with at least one audience
- A CaptiFi plan that includes integrations (Growth or above)
- Your venue live in CaptiFi with a splash page that collects an email address
Part 1: Get your Mailchimp API key
Step 1: Open your Mailchimp API keys page
Log in to Mailchimp, click your profile icon in the bottom left, choose Account & billing, then go to Extras, API keys. You can also go straight there: mailchimp.com/help/about-api-keys.
Step 2: Create a key
Under Your API keys, click Create A Key, name it something you will recognise such as CaptiFi WiFi, and click Create key.
Step 3: Copy the key
Copy it now and store it safely. A Mailchimp key ends in a data centre suffix, for example -us21; CaptiFi reads that suffix automatically to talk to the right Mailchimp server, so paste the whole key exactly as shown.
Part 2: Find your Audience ID
Step 4: Open your audience settings
In Mailchimp go to Audience, All contacts, choose the audience you want WiFi guests to join, then open Settings, Audience name and defaults.
Step 5: Copy the Audience ID
The Audience ID is on the right, a short string of letters and numbers such as f1e2d3c4b5. Mailchimp also calls this the List ID.
Part 3: Connect Mailchimp in CaptiFi
Step 6: Open the Integrations page
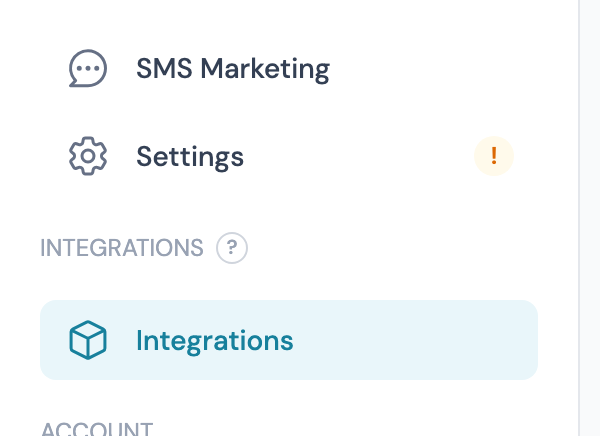
Log in to my.captifi.io and click Integrations in the left sidebar.
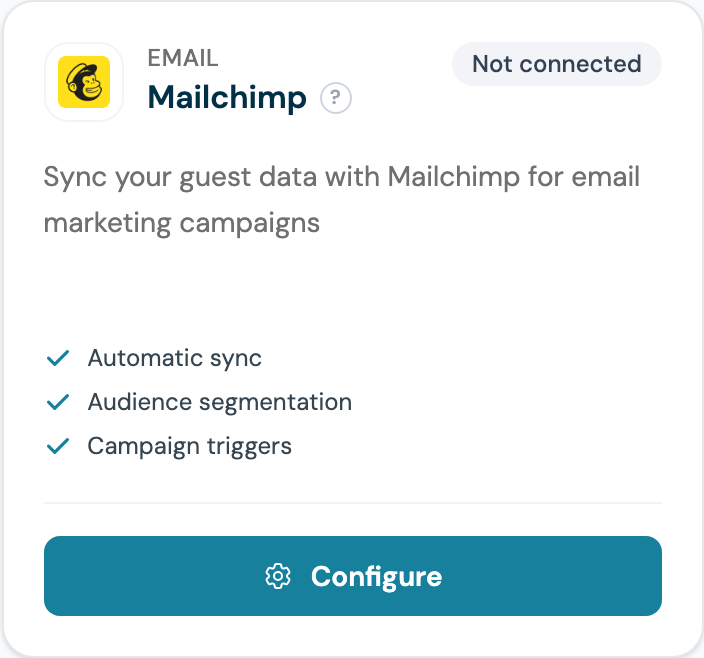
Step 7: Find the Mailchimp card and click Configure
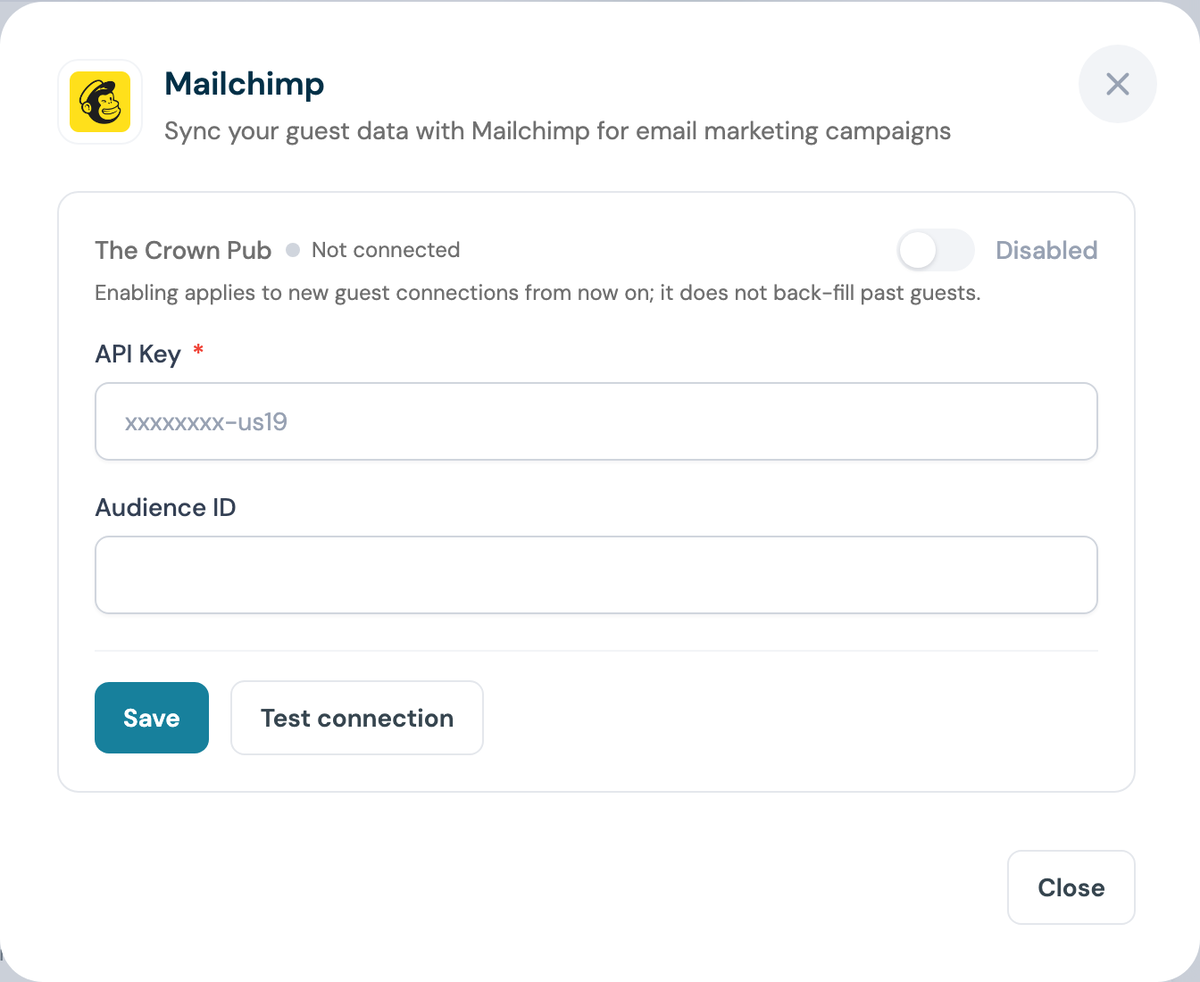
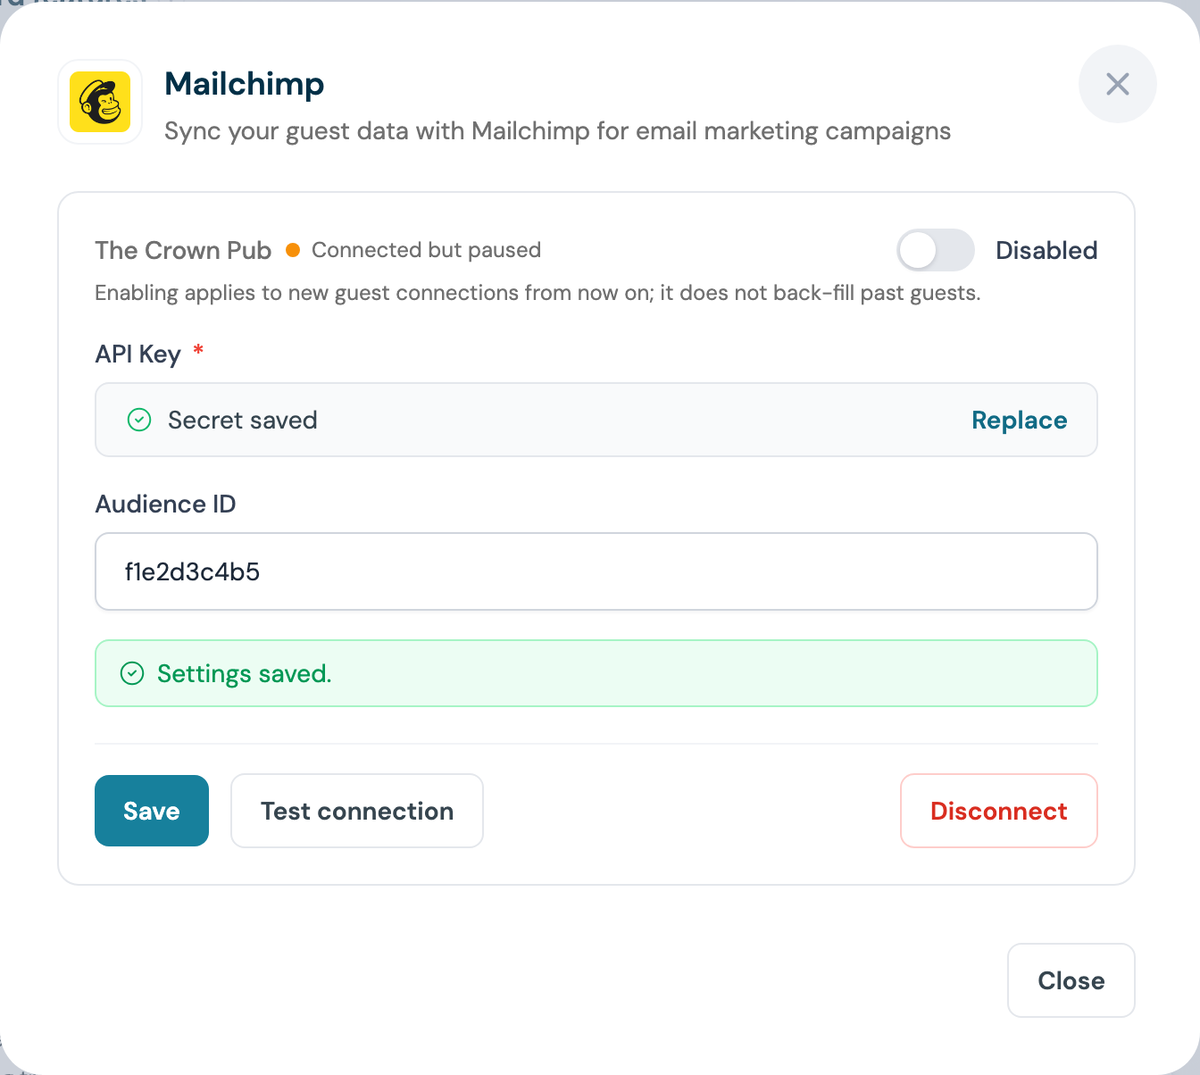
Step 8: Paste your API key and Audience ID
The panel shows one section per venue you manage. Paste the key from Step 3 into API Key and the ID from Step 5 into Audience ID. The API key is write-only: once saved, CaptiFi only ever shows a masked confirmation.
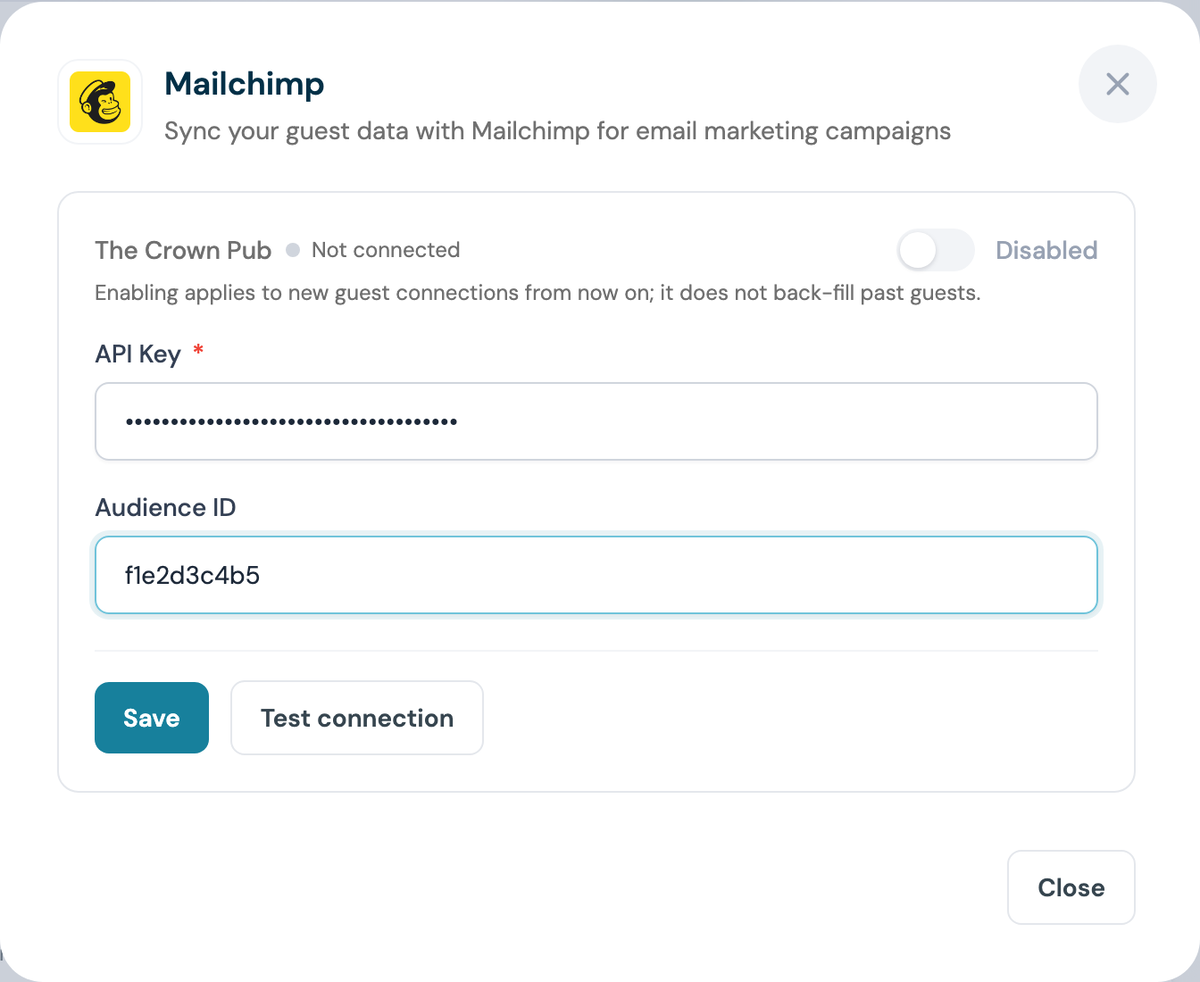
Step 9: Click Save, then Test connection
Test connection checks the key and the audience together, so a wrong Audience ID is caught here rather than days later.
Step 10: Switch the venue on
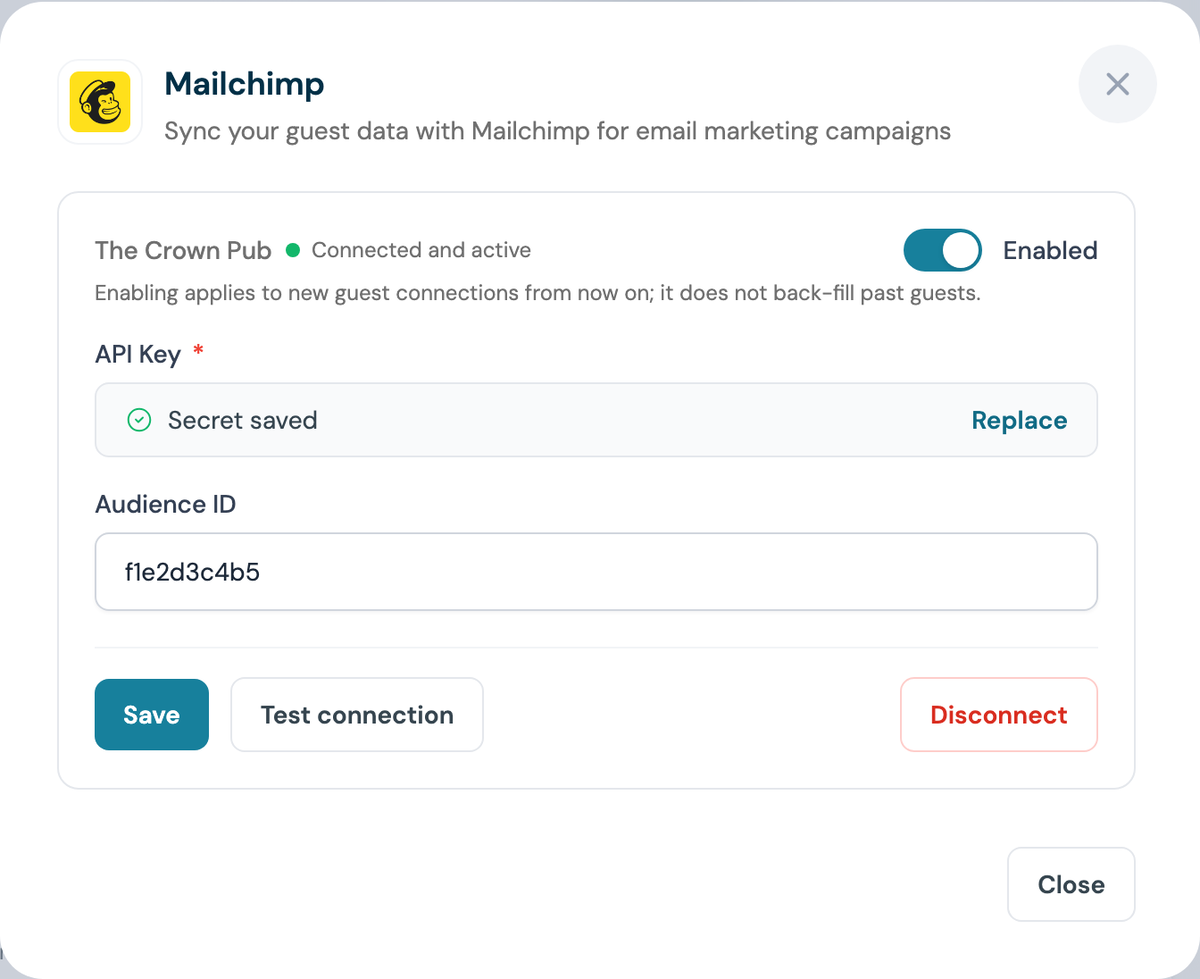
The venue reads Connected but paused until you flip the toggle to Enabled.
Enabling is not retrospective
Only guests who connect after you enable the integration are synced. Past guests are not back-filled.
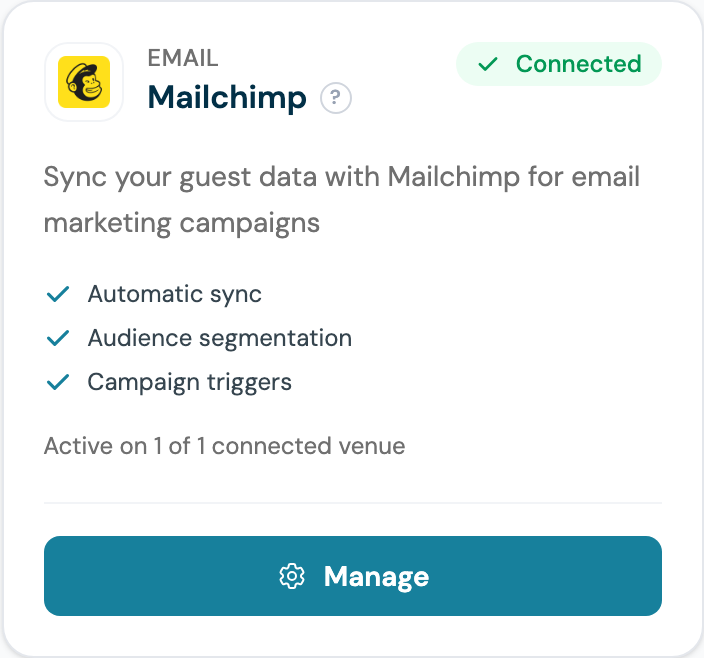
Step 11: Confirm the card says Connected
Part 4: Test it end to end
Step 12: Sign in as a guest
On a phone, forget the network, reconnect, and complete your splash page with a real email address. Tick the marketing opt-in box.
Step 13: Check the contact in Mailchimp
Open your audience and search for that email. Within a few minutes the contact appears with status Subscribed and the merge fields below populated.
What gets synced
CaptiFi creates any merge field it needs on your audience automatically the first time it syncs, so you do not have to build them by hand.
| CaptiFi data | Mailchimp merge field | Notes |
|---|---|---|
| Email address | EMAIL | Required; used to match existing contacts |
| First name | FNAME | If your splash page collects it |
| Last name | LNAME | If your splash page collects it |
| Connection time | CONNTIME | When the guest signed in |
| Guest device MAC | CLIENTMAC | The guest's device identifier |
| Access point MAC | APMAC | Which AP they connected through |
| Custom splash questions | CF_<QUESTION> | One field per custom question, upper-cased and shortened |
Contacts are added with status Subscribed.
Important notes
- Only opted-in guests are synced. Guests who decline marketing are never sent to Mailchimp
- Sync happens within minutes of the WiFi sign-in
- Mailchimp matches by email, so repeat visits update the same contact
- Unsubscribes and cleaned addresses in Mailchimp are respected; CaptiFi does not resurrect them
- Each venue can point at its own audience, or several venues can share one
Troubleshooting
Test connection returns HTTP 401 - the API key is wrong or was deleted in Mailchimp. Create a new one and paste the full key including the -us21 style suffix.
"Resource not found" on test - the key is valid but the Audience ID does not exist on that account. Re-copy it from Settings, Audience name and defaults.
Contacts appear without names - your splash page is not collecting first and last name. Add those fields in the Splash Page Builder.
Nothing appears at all - check the venue toggle is Enabled (Step 10) and that the guest ticked the marketing opt-in.
Next steps
- Welcome automation - trigger a welcome email when a contact joins the audience
- Segmentation - segment on
CONNTIMEto separate new guests from regulars - Promotions - target guests of one venue using a venue-specific audience